Twitchis töötav Adblock juhtub tõenäolisemalt, kui kasutate vananenud Adblocki brauseri laiendust. Muud põhjused võivad olla Chrome'i võrguteenus, veebibrauseri mängija, Adblocki laienduse filtrite mitteoptimaalne seade, brauseri probleemid või brauserilaiendi probleemid.

Adblocking brauseri laiendused on tarkvara, mis võimaldab veebibrauseris / rakenduses veebireklaame eemaldada või muuta. Kuid need laiendused ei suuda mõnikord Twitchi reklaame blokeerida, kuna Twitch on reklaami otse voogu sisestanud.
Twitchi reklaamide blokeerimine on järgmine:
1. lahendus: veenduge, et teie AdBlocki laiendus oleks ajakohane
Tehnoloogia areneb iga päevaga ja kui te oma brauserilaiendeid regulaarselt ei värskenda, võite end paljude probleemide käes hoida. Seega, kui kasutate aegunud AdBlocki laiendust, ei pruugi see konkreetne laiendus Twitchis reklaame blokeerida. Illustreerimiseks kasutame Google Chrome'i koos installitud AdBlocki laiendusega.
- Avage aadressiriba tüübil Chrome &
kroom: // laiendused
ja vajutage sisestusklahvi.

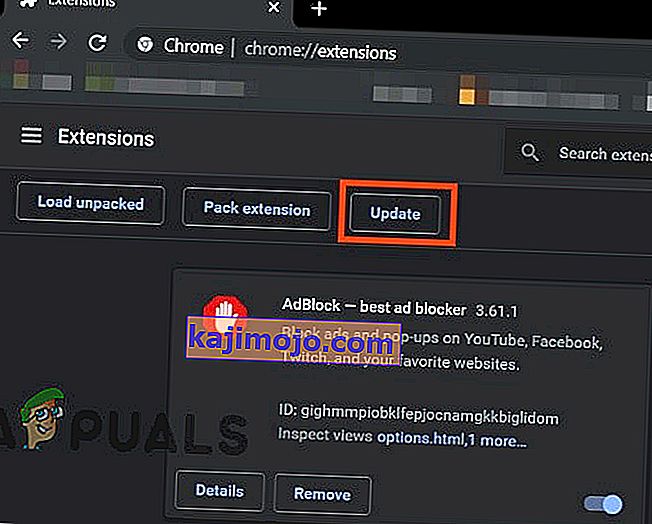
- Lülitage Windowsi laiendustes valik „ Arendajarežiim ” olekusse Sees .
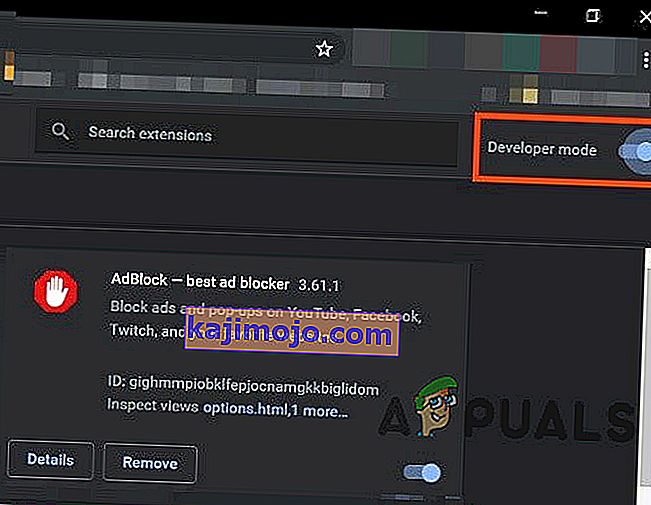
- Nüüd klõpsake nupul „ update ”, mis värskendab kõiki Google Chrome'i laiendusi.
- Taaskäivitage brauser.
- Avage Twitch, et näha, kas probleem on lahendatud.


Kui Twitchi reklaamid on endiselt olemas, liikuge järgmise lahenduse juurde.
Lahendus 2. Luba brauseri laienduses säte
Paljud AdBlocki laiendused hakkavad pärast brauserisse lisamist reklaame kohe blokeerima, kuid Twitchi reklaamide haldamiseks on neil eraldi seade ja see seade pole vaikimisi lubatud ja peate lubama seade Twitchis reklaamide blokeerimiseks. Seega võib sätte lubamine probleemi lahendada. Kasutame illustreerimiseks Google Chrome'i ja AdBlocki.
- Avage Chrome ja klõpsake aadressiriba lõpus oleval ikoonil „ AdBlock ”. Laienduse juhised võivad sellest erineda.
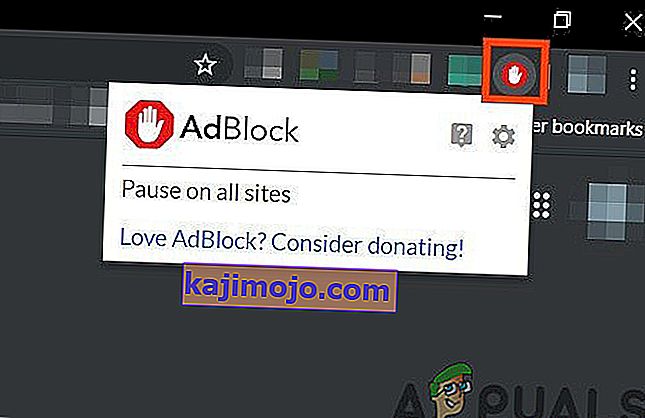
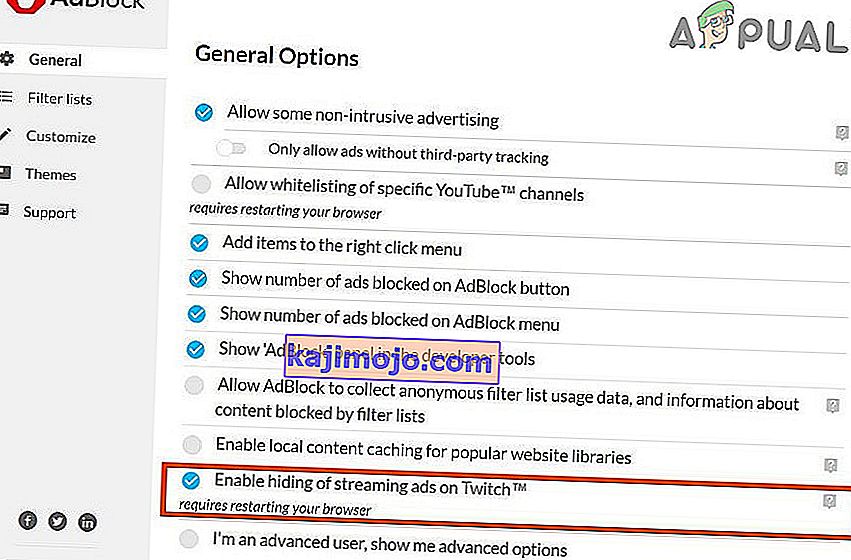
- Nüüd klõpsake hüpikmenüü ikoonil „ hammasratta “, et avada „ AdBlocki seaded “.
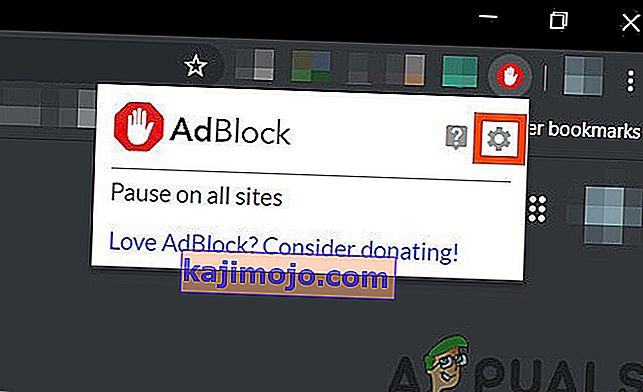
- Märkige jaotises „ AdBlocki seadete ” suvandid „ Üldine ” valik „ Luba voogesitusreklaamide peitmine Twitchis ”.
- Taaskäivitage Google Chrome.
- Kontrollige, kas Twitchi reklaamid on blokeeritud.


Kui olete endiselt Twitchi reklaamidega silmitsi, jätkake järgmise lahendusega.
3. lahendus: muutke Chrome'i täpsemaid seadeid
Kroomitud võrguteenus käitab eraldi protsessi, millele pole juurdepääsu Google Chrome'i lisatud reklaamide blokeerimise laienditele. Selle teenuse kättesaadavaks muutmine reklaamiblokeeringu laiendusele võib probleemi lahendada.
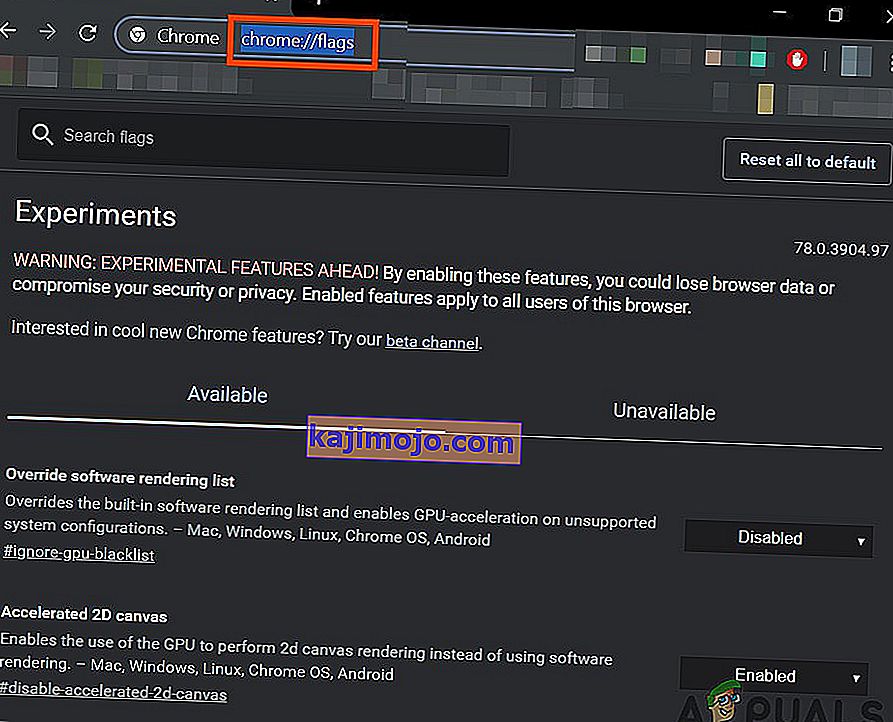
- Avage Chrome ja aadressiriba tüüp
kroom: // lipud
ja vajutage sisestusklahvi.
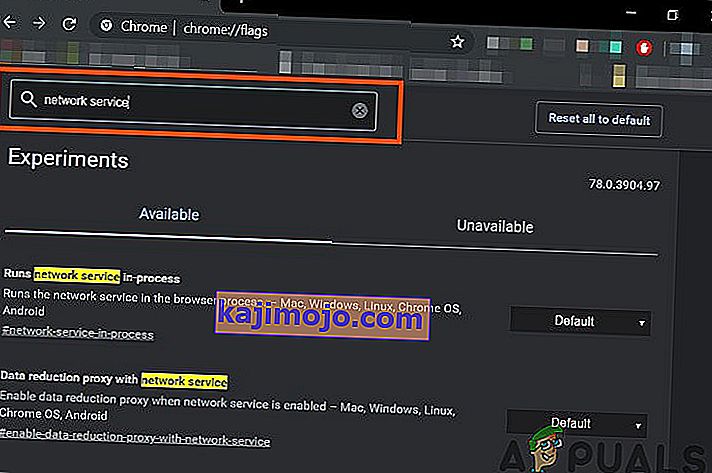
- Nüüd tippige otsingulippude kasti „ Network Service ”.
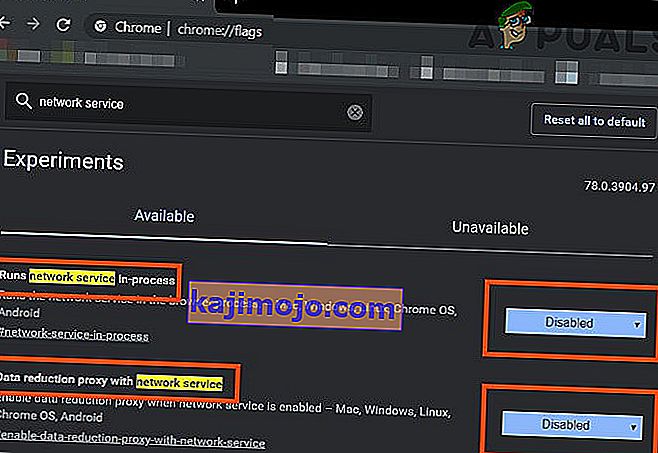
- Ja tulemustes määrake „ Käivitab võrguteenuse protsessis ” ja „Andmete vähendamise puhverserver võrguteenusega” väärtuseks “ Keelatud ” ja salvestage muudatused.
- Taaskäivitage brauser.
- Kontrollige, kas probleem on lahendatud. Kui probleem on lahendatud, tehke need toimingud alati, kui Chrome saab uue värskenduse.


Kui probleem püsib, proovige järgmist lahendust.
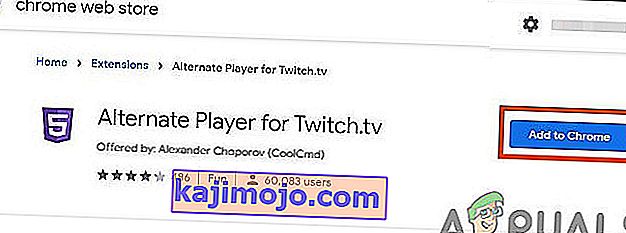
Lahendus 4. Proovige Twitch.tv jaoks Alternate Playerit
Varem Twitch 5 nime all tuntud Twitch.tv laiendus Alternate Player eemaldab enamiku otseülekannete reklaamid. Mängija seadeid saab häälestada teie Interneti-ühendusele. See võimaldab teil jätkata ülekande vaatamist mõnes teises mängijas, näiteks Media Player Classic, VLC Media Player või MX Player jne, mis muudab selle üsna kasulikuks.
Nii et selle kasutamine võib probleemi lahendada.
- Laienduse lisamiseks brauserisse avage vastav link.
- Lisage Chrome'i jaoks Twitchi jaoks alternatiivne mängija
- Lisage Twitchi jaoks alternatiivne mängija Firefoxile ja Firefoxist tuletatud brauseritesse:
- Lisage Twitchi jaoks alternatiivne mängija Microsoft Edge'i.
- Lisage laiend brauserisse.
- Taaskäivitage brauser ja avage Twitch, et näha, kas probleem on lahendatud.

Kui teid ikka reklaamidega pommitatakse, siis liikuge järgmise lahenduse juurde.
Lahendus 5. Kasutage filtreid
Igal AdBlocki laiendusel on filtrite loendid. Filtrite loend võib olla valge nimekiri, must nimekiri ja kohandatud loend. Neid loendeid saab lisada käsitsi või viidata veebis saadaolevatele loenditele. Saame Twitchi reklaamivoo lisada laienduse musta nimekirja ja see täiendus võib probleemi lahendada.
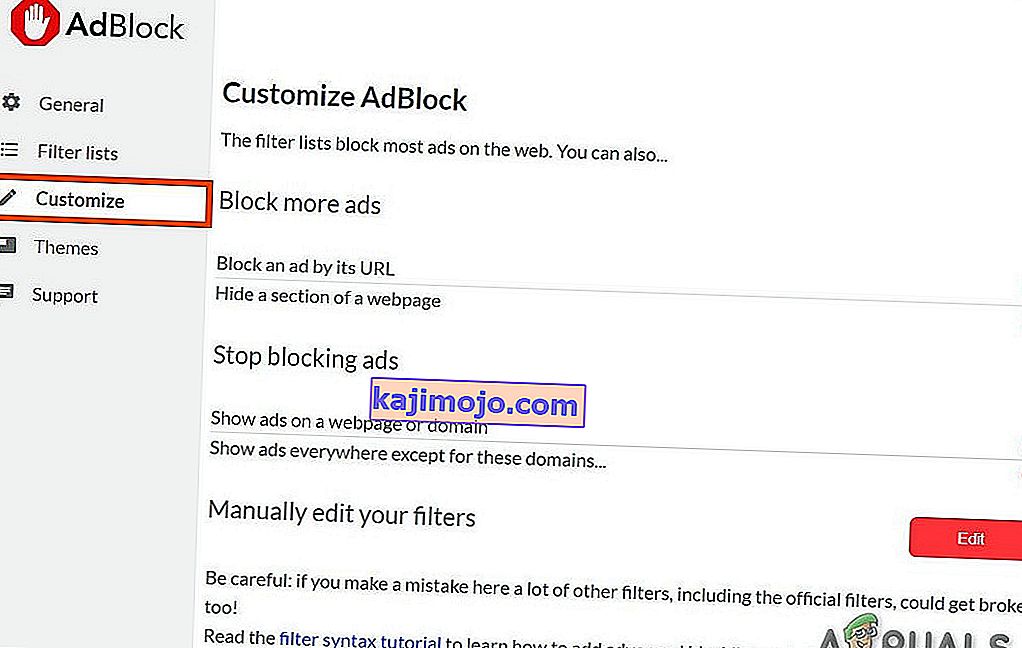
- Avage Chrome ja klõpsake laiendusel AdBlock.
- Seejärel klõpsake AdBlocki seadete avamiseks hammasrattaikooni .
- Klõpsake nupul „ Kohanda ”.
- Klõpsake pealkirja “ Filtrite käsitsi muutmine ” kõrval nuppu “ Muuda ”.
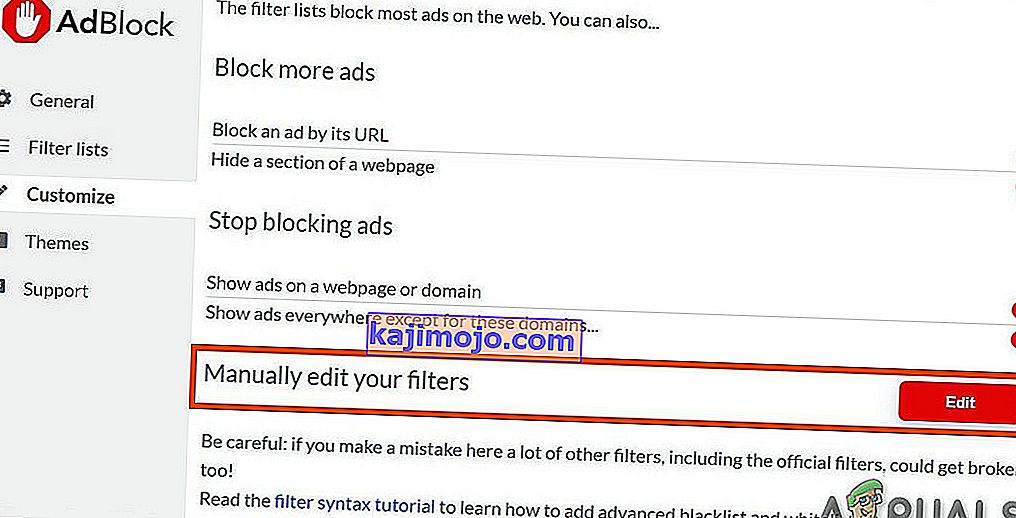
- Lisage loendisse järgmine, üks igal real.


www.twitch.tv ##. js-player-ad-overlay.player-ad-overlay www.twitch.tv ##. player-ad-overlay.player-overlay //imasdk.googleapis.com/js/sdkloader/ ima3.js r /// imasdk.googleapis.com/js/sdkloader/ima3.js
Nüüd pöörduge Twitchi poole ja vaadake, kas probleem on lahendatud, kui ei, siis minge järgmise lahenduse juurde.
6. lahendus: lahendus Android-seadmes
Twitch is not only available for the web but it has its Android app as well. There is a small workaround that can be performed to avoid the ads on the Twitch Android app. Remember that you can use an Android Emulator e.g. BlueStacks on the PC if you want to use the solution.
- Open Twitch on the Android
- When an ad starts to display then just click on “Learn More”
- And then immediately tap on Back Button and the whole ad will be skipped.
Solution 7: Use Streamlink
Streamlink Twitch GUI is a web application written in JavaScript (EmberJS), HTML (Handlebars) and CSS (LessCSS) and is being run by a Node.js powered version of Chromium. With Streamlink Twitch GUI you’re not dependent on the web browser of system and streams can be watched in any video player as per your liking, which will enable smooth video playback. Moreover, Streamlink Twitch bypasses any ad by the Twitch.tv.
- Download Streamlink as per your OS.
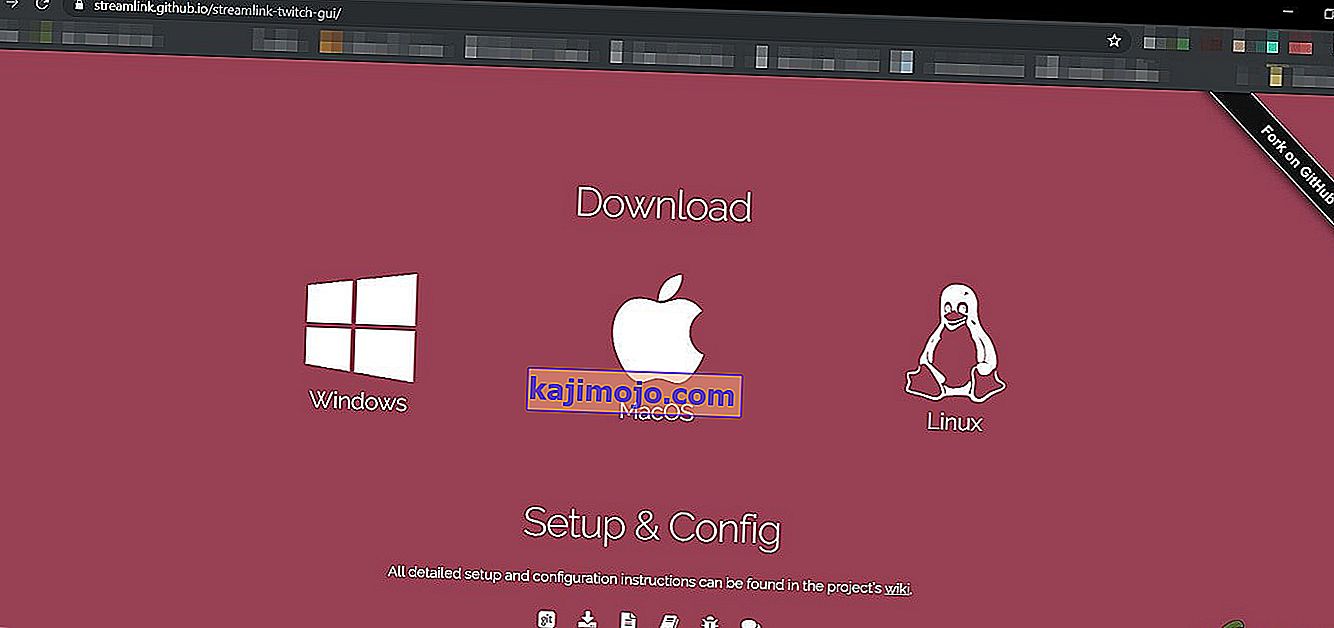
- Install & run it and see if the problem is solved.

If you are still in the line of ads, move to the next solution.
Solution 8: Using HLS AdBlock
Twitch plays advertisements whenever the user starts watching a new channel. Twitch staff injects advertisements into the HLS stream directly. HLS AdBlock extension patches the technique which Twitch uses and edits the m3u8 playlist that is requested every few seconds to simply remove segments that are marked as advertisements. So, installing HLS AdBlock can solve the problem.
- Download the HLS AdBlock extension as per your browser.
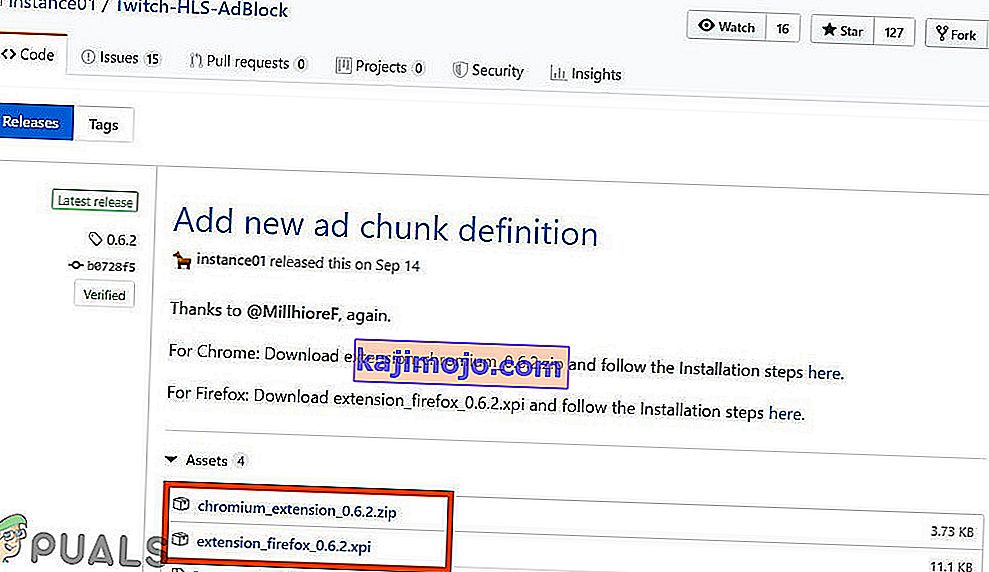
- For Chrome

- Unzip into a folder, remember the folder path.
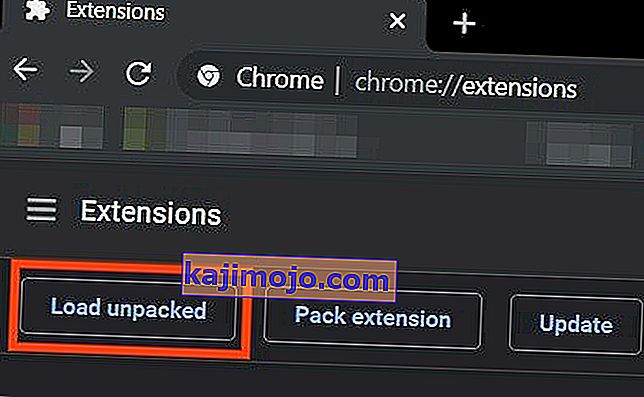
- Go to
chrome://extensions/
and enable Developer Mode.
- Click on ‘Load unpacked’ and go to the directory with the extension (see if “manifest.json” is in the directory)
- Click on ‘Load unpacked’ and go to the directory with the extension (see if “manifest.json” is in the directory)

- For Firefox:
- Download the latest release (xpi file)
- Go to
about:addons
& load the HLS AdBlock addon from the downloaded file
- Now Run the Twitch to see if the problem is solved.
If you are still facing the problem, move to the next solution.
Solution 9: Use Adguard
AdGuard is an ad-blocking extension that effectively blocks all types of ads on all web pages including video ads, rich media advertising, unwanted pop-ups, banners and text ads, etc. AdGuard can handle most of the AdBlock circumvention scripts, the technique used by Twitch.
- Visit this link for Chrome and this link for Firefox.

- Install and run it.
- Check if the problem is solved.

If not, move to the next solution.
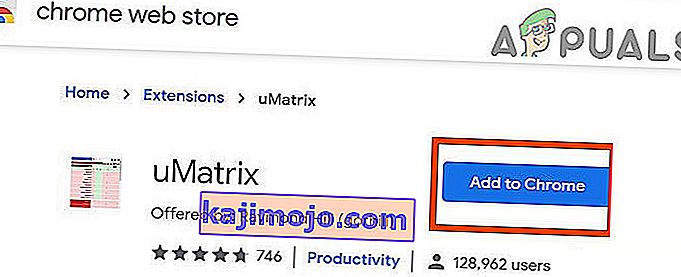
Solution 10: Using uMatrix
By uMatrix you point & click to allow or restrict requests made by the browser. It can be used to block iframes, scripts, ads, etc. uMatrix puts you in control of the connection, downloading and execution of data types.
- Visit the following link as per your browser to add the extension
- Add to Chrome
- Add to Firefox
- Run Twitch to see if the problem is solved.

If the problem is still there, proceed to the next solution.
Solution 11: Ublock Origin
Ublock origin is an efficient ad blocker that is easy on memory and CPU and can load & enforce thousands of filters than other popular blockers. It’s more of an “adblocker” as it can also create filters from host files.
- Visit the concerned link as per your browser to add the extension to it.
- Add to Chrome
- Add to Firefox.

- Run Twitch and see if the problem is solved.

If the problem persists, move to the next solution.
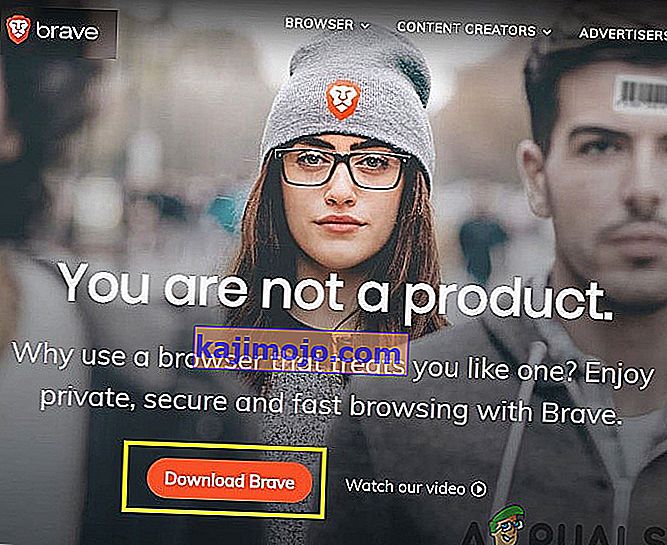
Solution 12: Use Brave Browser
Brave is an open-source& free web browser developed by Brave Software, Inc. Brave is based on the Chromium web browser. The browser blocks website trackers & ads.
- Download the Brave Browser.
- Install and run it.
- As Brave is Chromium-based so Chrome extensions can be used with it. Use any of the extensions mentioned in the above solutions.
- Now use Brave to access Twitch and see if the problem is solved.

If the problem is not solved, move to the next solution.
Solution 13: User-Agent Switcher
In this solution, we will use the same technique as mentioned for android users but with a different approach. We will use a Chrome extension User-Agent Switcher, by which we will convert the user agent in Brave Browser to be Android or iOS. And this may solve the problem. But before proceeding further, make sure you have Brave Browser installed with Ublock origin and Umatrix extensions added to it, which is explained in the above solutions.
- Open Brave Browser.
- Open User-Agent Switcher in Brave Browser to open it in the Chrome Webstore.
- Please read this help article on How can I add extensions to Brave and use these guidelines to add User-Agent Switcher to Brave Browser.
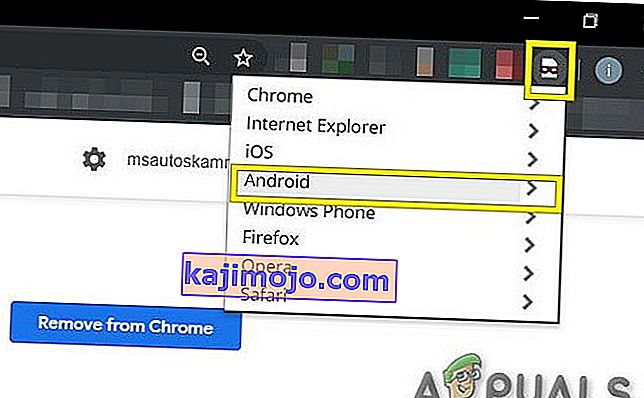
- Now click on the icon of User-Agent Switcher, next to the address bar, and then click on Android (if you want to switch to Android).
- Now open the Twitch in the Brave Browser, if an ad pops up, click on Learn More and then click on the back button and the ad will be skipped. Now you can switch back to Chrome in the User-Agent Switcher.


If the problem is not solved, proceed to the next solution.
Solution 14: Twitch Turbo:
If you hate ads during watching streaming and can afford to pay the fee then Twitch’s subscription service called Twitch Turbo is a good option to consider. Twitch Turbo comes with ad-free Twitch viewing with other features as well.
- Open Twitch Turbo Subscription Page to subscribe to the Twitch Turbo.

- Use Twitch Turbo to watch Twitch and there will be no ads anymore.

Hopefully, you can now watch Twitch without ads.