OBS Studio on avatud lähtekoodiga tarkvara, mis võimaldab kasutajatel professionaalselt oma mänge või ekraane voogesitada. Sellel on platvormid nii macOS-i kui ka Windowsi operatsioonisüsteemi jaoks. OBS-i kasutavad tavaliselt tippklassi mängijad, kes eelistavad tavalise ekraanisalvestustarkvaraga võrreldes suuremat kontrolli oma ekraani jagamise üle.
OBS-i on juba mõnda aega kimbutanud probleem, kus kasutajad kogevad musta ekraani, kui nad üritavad oma ekraane veebis jagada. Seda probleemi näevad enamasti Windowsi platvormid ja süsteemid, kus on kaks graafikavõimalust, st mõlemad on pühendatud ja integreeritud. Selles artiklis vaatleme kõiki lahendusi, miks see probleem ilmneb ja millised on selle lahendamise sammud.
Mis põhjustab musta ekraani OBS Studio'is?
Tegime ulatusliku uuringu ja analüüsisime kõiki kasutajate juhtumeid, kus OBS-i kaudu voogesituse ajal tekkis must ekraan. Oma analüüsi põhjal kohtasime mitmeid erinevaid süüdlasi, kes võivad probleemi põhjustada. Mõned neist on loetletud siin:
- Spetsiaalne graafikat segav funktsioon: iga rakenduse või mängu käivitamisel peab operatsioonisüsteem otsustama, kas eraldada ressursse spetsiaalsele graafikakaardile või tavalise emaplaadi integreeritud graafika kaudu. Sellel valikul võib olla halb mõju mehaanika käitamisel ja OBS ei pruugi olla võimeline korralikult voogesitama.
- Administraatoriõigused: Kuna OBS jagab kogu teie ekraani, võib juhtuda, et arvuti võib juurdepääsu piirata ja seetõttu ei pruugi see teie sisu kuvada. Tavaliselt lahendab probleemi koheselt administraatorijuurdepääsuga rakendus.
- Konflikt 32- ja 64-bitiste rakendustega: OBS-l on oma rakendustel kaks versiooni, nimelt 32 ja 64-bitine. Õige versioon tuleks valida sõltuvalt teie arvutisse installitud operatsioonisüsteemi tüübist. Kui see pole nii, siis rakendus ei ühildu ja see ei tööta korralikult.
- Ühilduvusprobleemid: kohtasime ka mitmeid juhtumeid, kus OBS ei ühildunud Windowsi uusima versiooniga. Rakenduse ühilduvusrežiimis käivitamine sunnib rakendust ootuspäraselt käivitama ja töötama.
- Ülikiirendamine: ülikiirendamine võib suurendada teie arvuti jõudlust, kuid sellel on ka kahjulik mõju rakendustele. Võite proovida kiirendamise keelata ja vaadata, kas see teeb probleemile head.
- Konfliktne tarkvara: taustal võib töötada ka sarnane hõivamistarkvara. See tarkvara võib olla vastuolus OBS-iga ja põhjustada ressursside hankimise, mis kindlasti põhjustab OBS-i talitlushäireid ja ei tööta korralikult.
- Pildistamisvalikud: OBS-is on saadaval mitu hõivamisvalikut, näiteks täisekraan või konkreetne aken jne. Sisu hõivamisel tuleks valida õige.
- Arvuti on veaolekus: kunagi ei saa arvuti võimalusest välja tõrjuda. See juhtub tavaliselt siis, kui te pole arvutit pikka aega välja lülitanud. Lihtsalt mootorrattasõit lahendab antud probleemi.
Järgige lahendusi ülevalt ja töötage tõhusalt alla. Need on tellitud raskuse ja efektiivsuse osas. Head tõrkeotsingut!
1. lahendus: lülitage arvuti toitel ringi
Enne kui hakkame ulatuslikult tõrkeotsingut alustama, tasub oma arvutit toitesõidul kasutada. Oli mitmeid juhtumeid, kus lihtsalt elektrirattasõit lahendas OBS-i musta ekraani koheselt. Toitelülitus hõlmab arvuti täielikku väljalülitamist ja ka selle toiteallika eemaldamist. See sunnib arvutit eemaldama kõik ajutised konfiguratsioonid, nii et kui te seda uuesti käivitate, lähtestatakse kõik värskelt.
- Lülitage arvuti korralikult välja.
- Kui see on välja lülitatud, võtke pistikupesa välja või kui kasutate sülearvutit, võtke aku välja .
- Nüüd hoidke toitenuppu paar sekundit all. See tagab kogu voolu tühjenemise.
Pärast 2–4 minutit ootamist ühendage kõik uuesti ja kontrollige, kas probleem laheneb.
2. lahendus: OBS Studio õige versiooni valimine
OBS on tavaliselt kahes versioonis, st 32 ja 64 bitti. Tarkvara tarnitakse kahes versioonis, kuna ka Windowsi operatsioonisüsteem tarnitakse kahes versioonis. Suur erinevus 32- ja 64-bitiste protsessorite vahel on arvutuste arv sekundis, mida nad saavad teha, mis mõjutab ülesannete täitmise kiirust. Selles lahenduses navigeerime OBS-i installikataloogi ja valime pärast teie bitiversiooni kontrollimist tarkvara õige versiooni.
Esmalt kontrollime teie arvutisse installitud operatsioonisüsteemi versiooni.
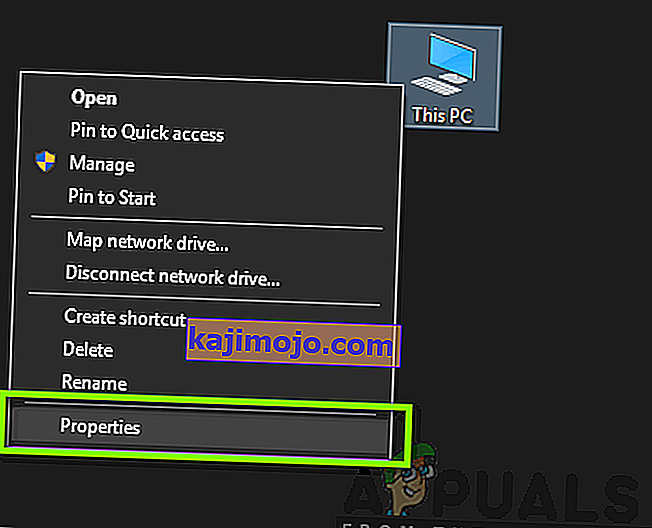
- Paremklõpsake sellel arvutil ja valige Atribuudid .
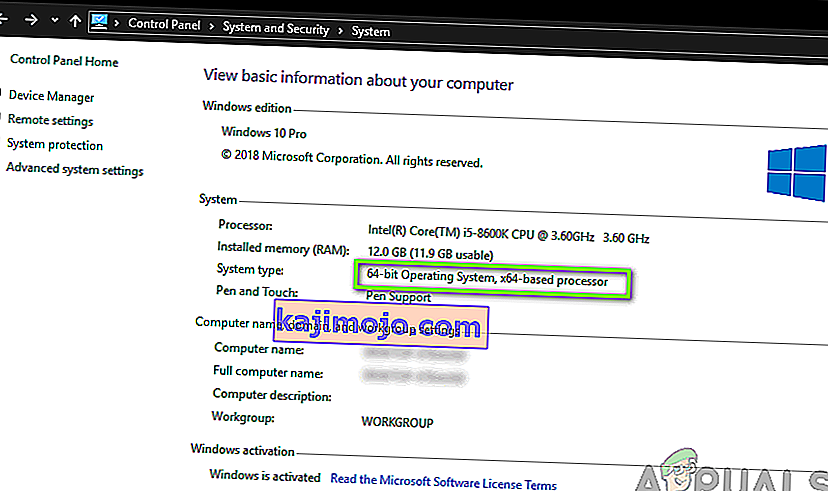
- Kui arvuti omadused, kontrollige all alamrubriiki süsteem ja kontrollige tüüp ees Süsteemi tüüp . Märkige üles operatsioonisüsteemi tüüp ja jätkake allpool toodud juhistega.
Nüüd navigeerime OBS-i installikausta ja käivitame rakenduse õige versiooni vastavalt teie arvuti bitiarhitektuurile.
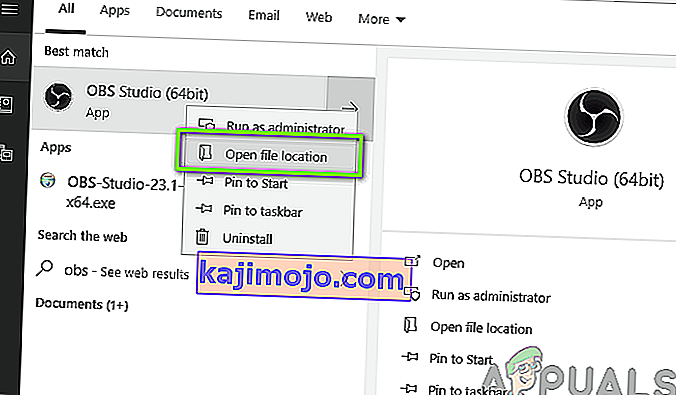
- Failiuurija käivitamiseks vajutage Windows + E. Nüüd otsige dialoogiboksist OBS ja avage faili asukoht, nagu pildil allpool näidatud.
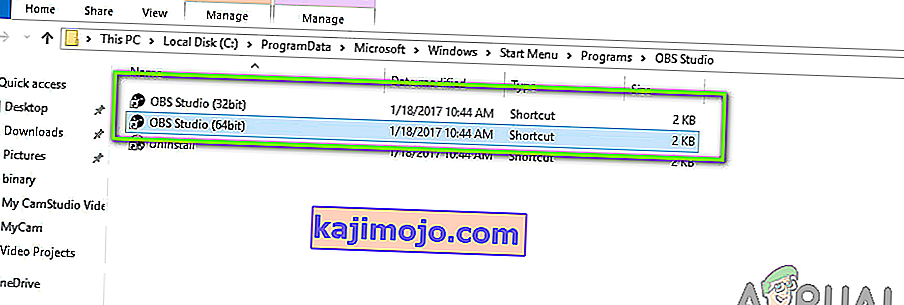
- Nüüd valige ja avage rakenduse õige versioon, sõltuvalt teie OS-i bitiversioonist. Kontrollige, kas probleem on lahendatud.
3. lahendus: ühilduvusrežiimi muutmine
Saime segiaruandeid rakenduses oleva ühilduvusrežiimi valiku kohta. Mõne kasutaja sõnul ei toetanud rakendus Windowsi uusimat versiooni, mistõttu pidid nad ühilduvuse Windows 7-le muutma, samas kui mõned kasutajad teatasid, et ühilduvusrežiimi keelamine lahendas probleemi koheselt. Siin saate proovida mõlemat meetodit ja kontrollida, milline neist teile sobib. Kui see nii ei ole, taastage seade vaikeväärtusele ja jätkake teiste lahendustega.
- Vajutage Windows + S, otsige OBS, paremklõpsake rakendusel ja valige Ava faili asukoht .
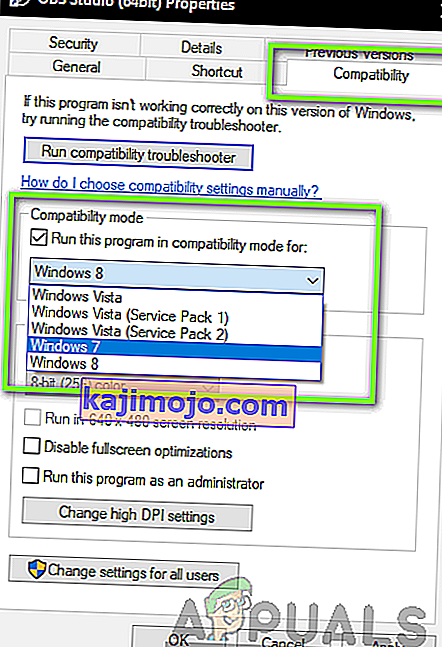
- Nüüd paremklõpsake käivitataval failil ja valige Atribuudid .

- Atribuutides olles valige vahekaart Ühilduvus ja märkige suvand Käivita see programm ühilduvusrežiimis . Nüüd võite valida Windows 7 või 8.
- Salvestage muudatused ja väljuge. Proovige nüüd rakendus käivitada ja vaadake, kas probleem on lahendatud.
4. lahendus: administraatori õiguste andmine
Teine probleem, miks te ei pruugi oma ekraani või mängu õigesti voogesitada, on see, et teie rakendusel pole õigeid administraatoriõigusi. Kuna OBS jagab tegelikult kogu teie sisu ja arvutikasutust veebis, on hädavajalik, et olete andnud sellele administraatori õigused. Selles lahenduses teeme seda ja kontrollime, kas see probleemi lahendab. Isegi kui see nii ei ole, veenduge, et hoiate valikut kogu aeg kontrollitud.
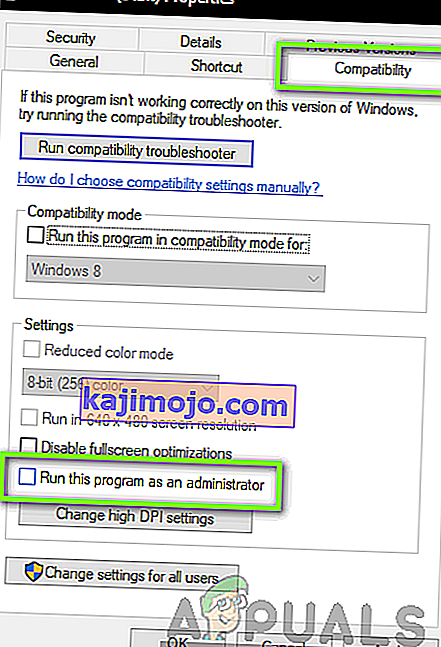
- Navigate to OBS’s executable properties as we did in the previous solution.
- Now click on the Compatibility tab and check the option of Run this program as an administrator.
- Apply changes and exit. Restart your computer and launch OBS again. Now check if the issue is resolved.
Solution 5: Selecting the Correct GPU for Resources
Another interesting phenomenon we came across was where not selecting the correct GPU according to the capture you are using caused several issues including the black screen. The breakdown on which GPU to select according to the display selected is as follows:
- Game capture: Dedicated graphics (NVIDIA or AMD).
- Monitor/display capture: Intel’s stock GPU
Note: This solution is only for users who have a dedicated graphics card installed on their computer.
Here we will signify the methods on how to cater to both the situations. Make sure that you follow them according to your case.
- Right-click anywhere on your screen and select NVIDIA Control Panel.
- Once in the control panel, navigate to Manage 3D settings and click on Program Settings.
- Once in program settings, select the OBS display capture. If you are not able to find the entry, click on Add and look up the software by navigating to its installation directory and selecting the executable from there.
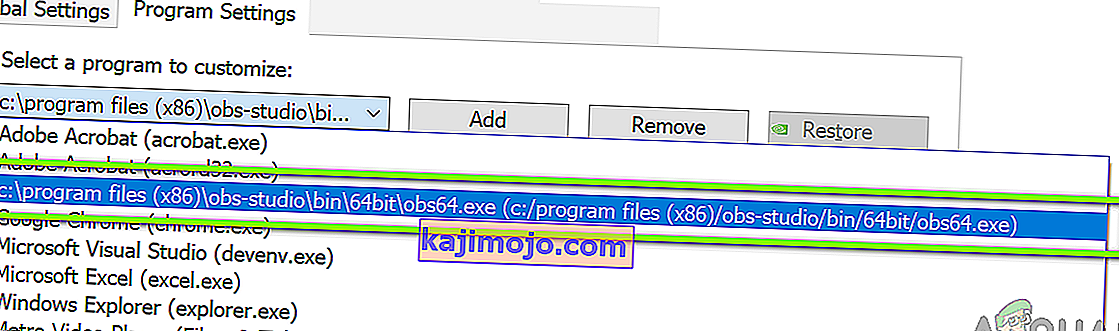
- Now according to the type of capture you are doing (game or monitor), select the correct graphics processor for the program. In the case down below, NVIDIA’s processor is selected.
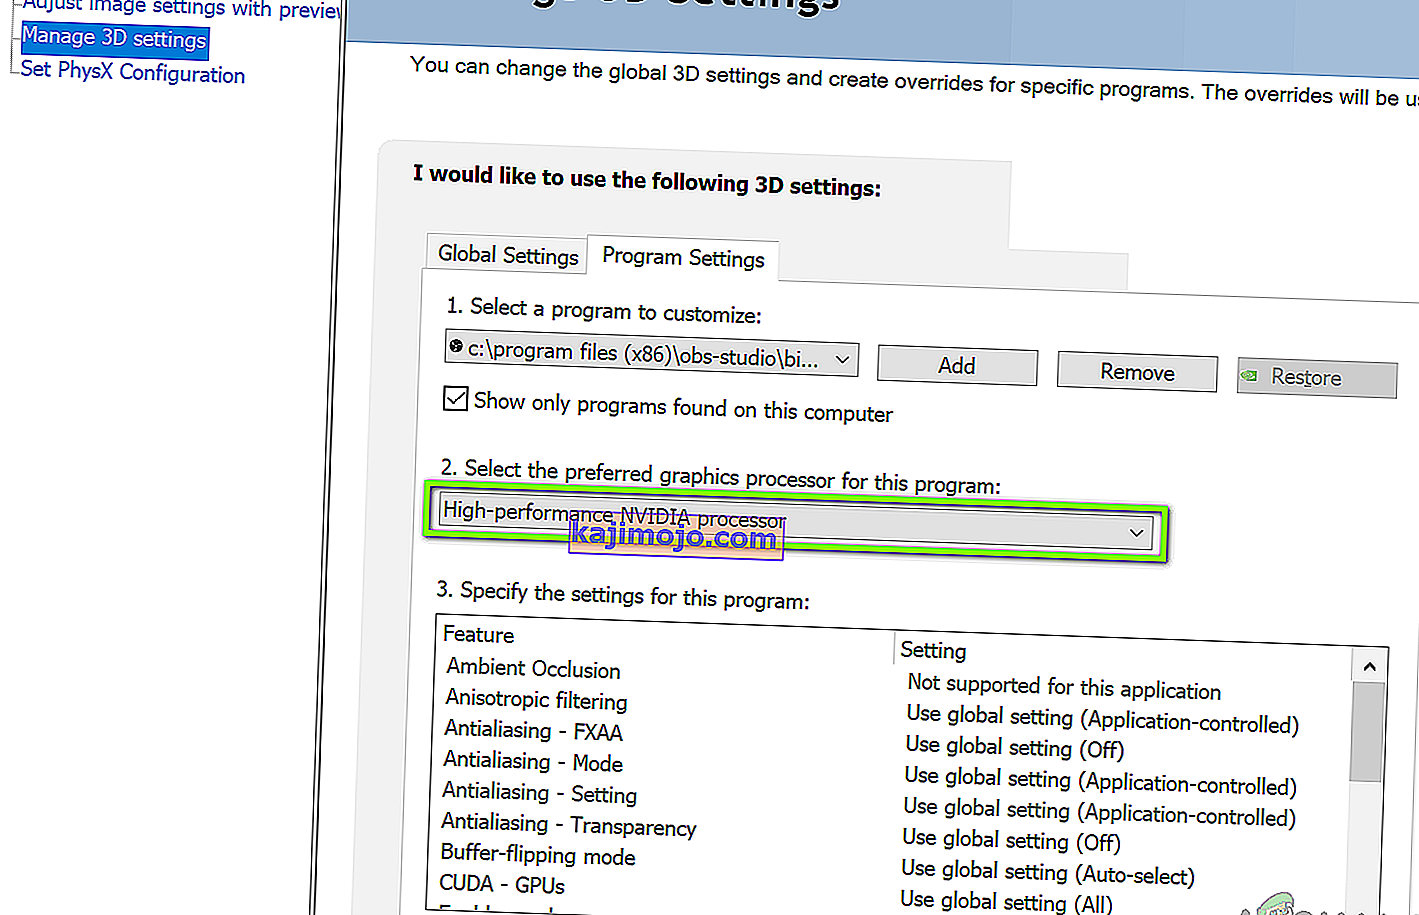
- Save changes and exit. Now restart your computer and launch OBS again. Check if the black screen issue is resolved.
Solution 6: Changing Drive Permission Settings
If your OBS is installed in your primary drive (C), there are chances that probably even your user might have not have full permissions to edit and modify its contents. This is the usual case and the reason why a conventional user is not allowed access to the drive is because of security reasons because all the core operating system files are present. However, according to some user reports, changing the ownership settings of the drive solved the issue instantly. Make sure that you are logged in as an administrator before following this solution.
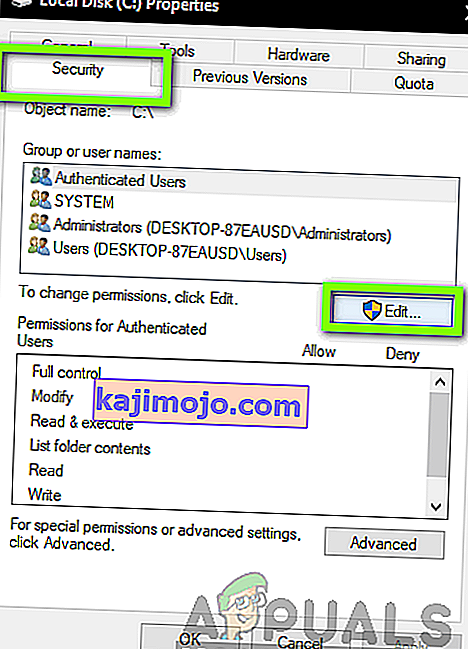
- Press Windows + E to launch the File Explorer. Now right-click on your C drive (or whichever drive is set as your main operating system disk) and select Properties.
- Select the Security tab and then click on Edit in front of permissions.
- Now select the option of Authenticated users and select the checkbox of Full control.
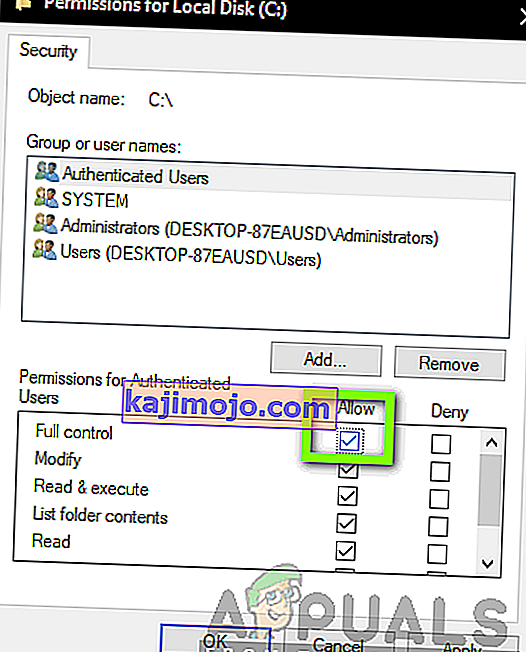
- Press Apply to save changes and exit. Restart your computer and start OBS again. Check if the issue is resolved.
Solution 7: Changing Settings of OBS
Another workaround to consider is changing some specific settings of OBS. Usually, OBS allows users to set the configurations according to their own preferences or will. However, in some cases, the custom settings might conflict with the software and cause the black screen. Here we have listed down some of the changes in settings that you have to do in order for OBS to run in optimal settings.
Mode: *Select according to your preference* Screen: *Select according to your game* Priority: *Usually the default one suffices* Sli/crossfire: Check (You can also try unchecking this one later) Force scaling: Uncheck Transparency: Uncheck Framerate lock: Uncheck Record cursor: Check Anti-cheat: Uncheck Overlays: Uncheck
After you have made changes to the settings of OBS, restart it and check if you can stream your screen/games properly without any issues.
Note: You can also change the mode from “Capture any fullscreen application” to “Capture specific window“.
Solution 8: Enabling Multi-adapter compatibility
OBS has a setting of Multi-adapter compatibility which is meant for computers involving SLI or Crossfire technology. SLI/Crossfire is technologies by NVIDIA/AMD which allows users to connect two graphics cards instead of one and utilize them both in your gameplay or applications. Enabling this feature seemed to have fixed the issue of black screen in OBS instantly.
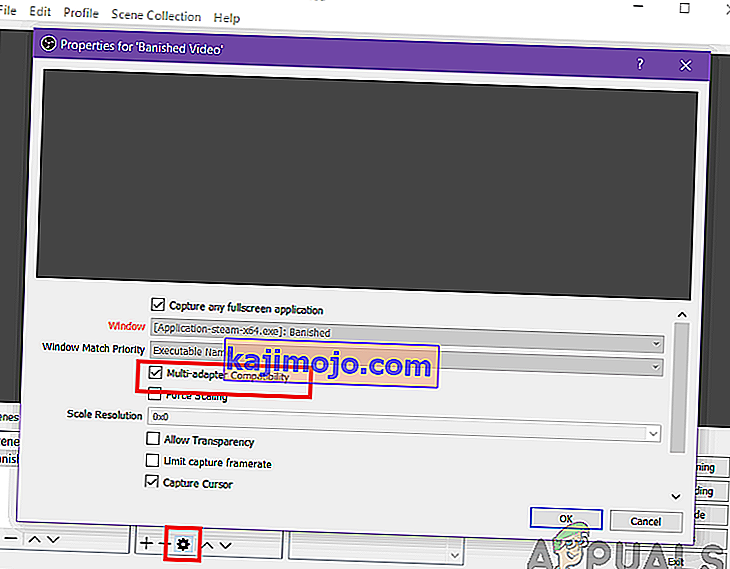
The funny thing is that this fixed the black screen in computers that don’t even have SLI/Crossfire technology installed. To conclude, we can safely say this is a bug in OBS and you have to enable multi-adapter compatibility whether or not you have SLI/Crossfire. You can easily enable this option by selecting the stream and clicking on the gears icon. A new window will pop up from where you can check the option.
Solution 9: Disabling Overclocking
Overclocking allows you to increase the clock rate of your processor until it reaches the threshold temperature set by the manufacturer. Once it reaches the temperature, the clock speed returns back to default so it is cooled down. After it reaches the optimal temperature, its clock speed is increased again and the cycle continues. Overclocking allows users to have better framerates and performance but they aren’t without their share of issues.
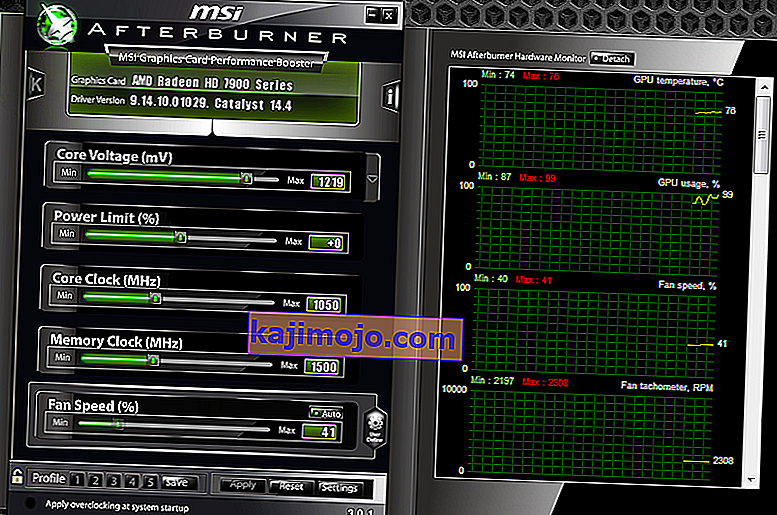
We observed that PCs that had overclocking enabled were having the black screen issue in OBS. You should try disabling overclocking and also overclocking related software such as MSI Afterburner and try launching OBS again. If the black screen issue is resolved, consider disabling overclocking for good whenever you are using OBS.
Note: Also try disabling Overlay from GeForce Experience and Windows game bar features. Take into account any additional software features which may provide additional controls over games or video.
Solution 10: Checking for conflicting software
Another reason why you might be experiencing the black screen on your OBS software is that you have additional software running in the background which is also related to screen capture and video recording. This is a very common scenario for users where they ‘think’ that the other third-party software is not running but in reality, it is in the background. In this solution, we will go through all the different software installed on your computer and uninstall all extra software which might be causing the issue.
- Press Windows + R, type “appwiz.cpl” in the dialogue box and press Enter.
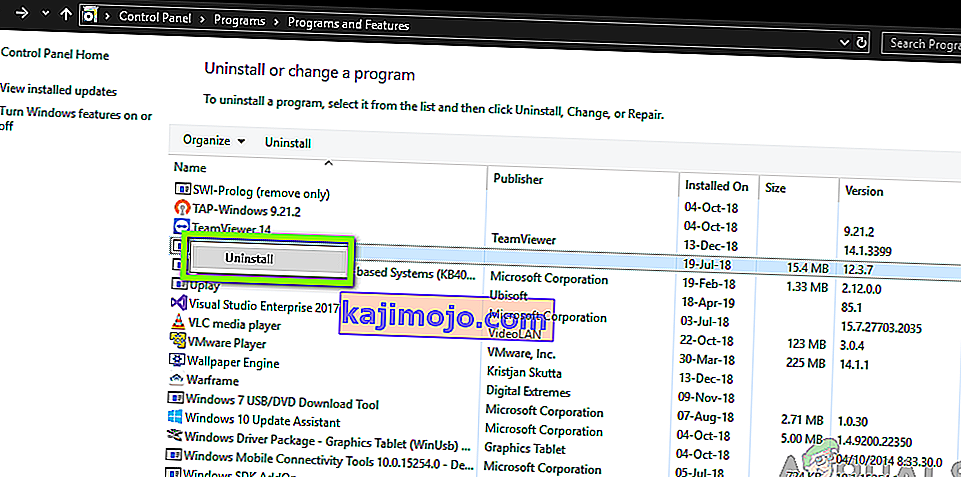
- Once in the application manager, search for any recording software which you might have installed on your computer. Right-click on it and select Uninstall.
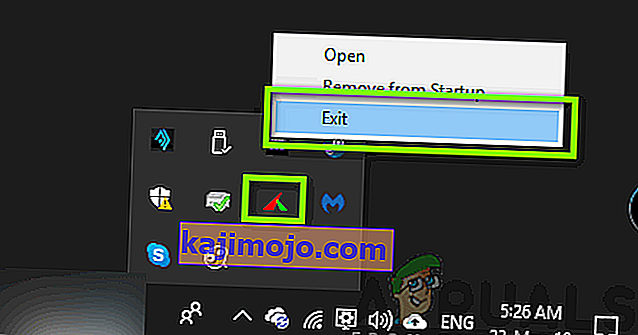
- You should also check your taskbar for any extra applications running in the background. Right-click on each entry and exit the application.
- After you are absolutely sure that no program is running the background, run OBS again and check if the issue is resolved.
Solution 11: Reinstalling the application
If all the above methods don’t work and you are still unable to stream your game/screen successfully using OBS, you should consider reinstalling the application entirely. It is possible that you have a corrupt/outdated copy with issues with several modules. All your preset configurations will be lost during this solution so make sure that you have saved all the work that you need.
- Press Windows + R, type “appwiz.cpl” in the dialogue box and press Enter.
- Once in the application manager, search for OBS, right-click on it and select Uninstall.
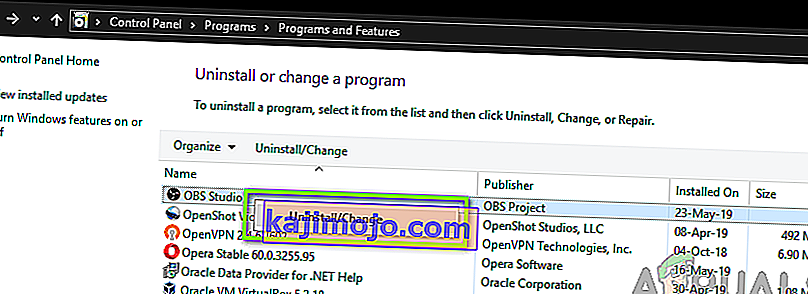
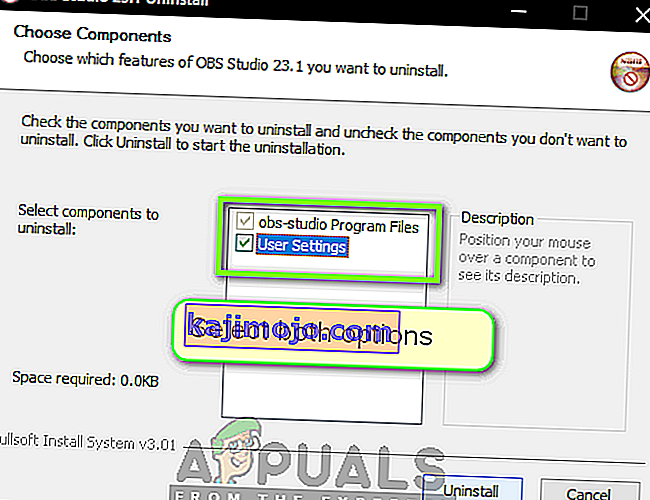
- Select both options (one of them will be preselected) and click on Uninstall.
- Restart your computer. Now navigate to OBS Studio’s official website and download the latest version from there. Install it and check if the issue persists in the fresh copy.